NOW YOU CAN QUICKLY AND EASILY CREATE YOUR OWN CUSTOM DECALS.
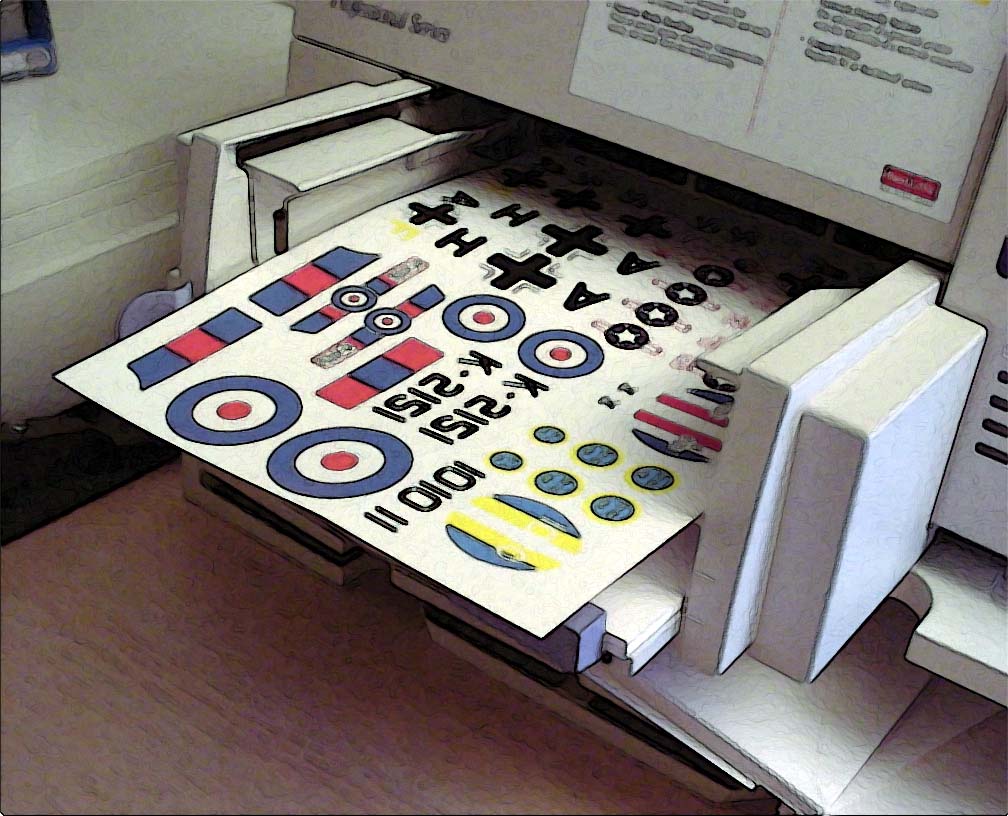
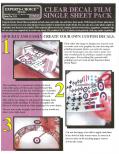
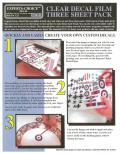
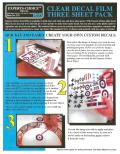
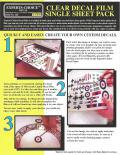
Experts-Choice® Decal Film is available in both clear and white one and three sheet packs. With Experts-Choice™ plain decal film you can use your own color ink jet or laser printer to make home made decals. You can also use a color photo copier to reproduce any decal of your choice. This material allows you to use existing artwork from books, magazines, computer clip art, or your own original art to create any decal. The standard 8 1/2 X 11 sheets work perfectly with any copier or printer.
Important notice: Inkjet decal film is intended for use with inkjet printers only. Please choose laser decal film for photocopiers and laser printers. Laser film is located below the inkjet film.


Hints and Tips:
Use our white decal film if your subject has any white areas. This is because most copiers and printers do not print white.
If you are copying a decal sheet on a color copier, you’ll need to transfer your decal to white styrene. This is due to the blue background on printed decal paper. Following this procedure will prevent the photo copier from printing the blue from your master on to the copy.
For some subjects you may find it necessary to use both our white and clear decal films. This is because when doing decals with letters like “USAF,” you do not want a white background in between the letters. When doing decals where a clear background is needed, you may have to separate your master so that any clear areas come out clear.
Note:
It is suggested that the bypass tray be used on all photocopiers. This will reduce the number of rollers the paper comes in contact with.
Photocopier Update:
The Bare-Metal Foil Co. has tested this product on a Cannon 550 and a Xerox Regal 5790 with great results. The test was conducted using the bypass trays on these machines. Some machines have a setting for transparencies or heavy stock. Please have the operator use this setting. We are happy to report that we have never heard of any cases of this paper damaging a photocopier.
Protecting the Image:
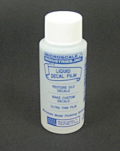
Remember to use Microscale Liquid Decal Film on both laser printer and inkjet images. If you fail to clear coat your image it may be damaged when you place the decal in water.
Color Separations:
Some decals may require a white background or white sections along with clear areas. This can be accomplished by printing you image on the clear decal film first. Then cut the white decal paper to fit the white areas in the decal. Place the white material on your model and slide the printed image over the white decal while both decals are still wet. This will allow you to register the white area under the image before the decals dry.
New Inkjet Update:
Inkjet Decal Film Instructions
Inkjet printers use liquid inks to create images on paper. Making decals with this type of printer requires decal paper with a special coating which prevents liquid ink from beading. Inkjet printers typically use the paper stock to supply the white component or artwork color, so white ink is generally not available. However, white inkjet decal paper is available in addition to clear decal paper so that images needing a white background may be printed. Currently we do not have information about compatibility with Bubble-Jet printers.
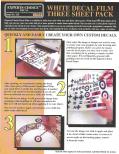
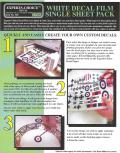
Follow the three steps below to create and apply your decals:
1. Create artwork
Use a computer, dry transfers, previously printed designs, and/or pen and ink to create your artwork. You may use multiple colors, but be aware that dark model colors may show through light-color artwork. White decal paper may be used to produce white areas on your decal. Color photos may be used as artwork, but they should be printed on white decal paper so that the white component of the photo is present.
2. Print artwork onto the decal paper
If you created your artwork on a computer and have a printer, you may print that artwork directly onto the glossy side of the decal paper. Try using your "Normal Printing - medium resolution with Plain Paper" setting in your printer. If you get good results, try using the "Econo Fast" with medium resolution with Plain Paper. After printing, you must apply a thin, but thorough coats of Microscale Liquid Decal Film to seal the printed image on the decal paper. Outside services are available that will print art for you on their printer.
3. Apply Decal
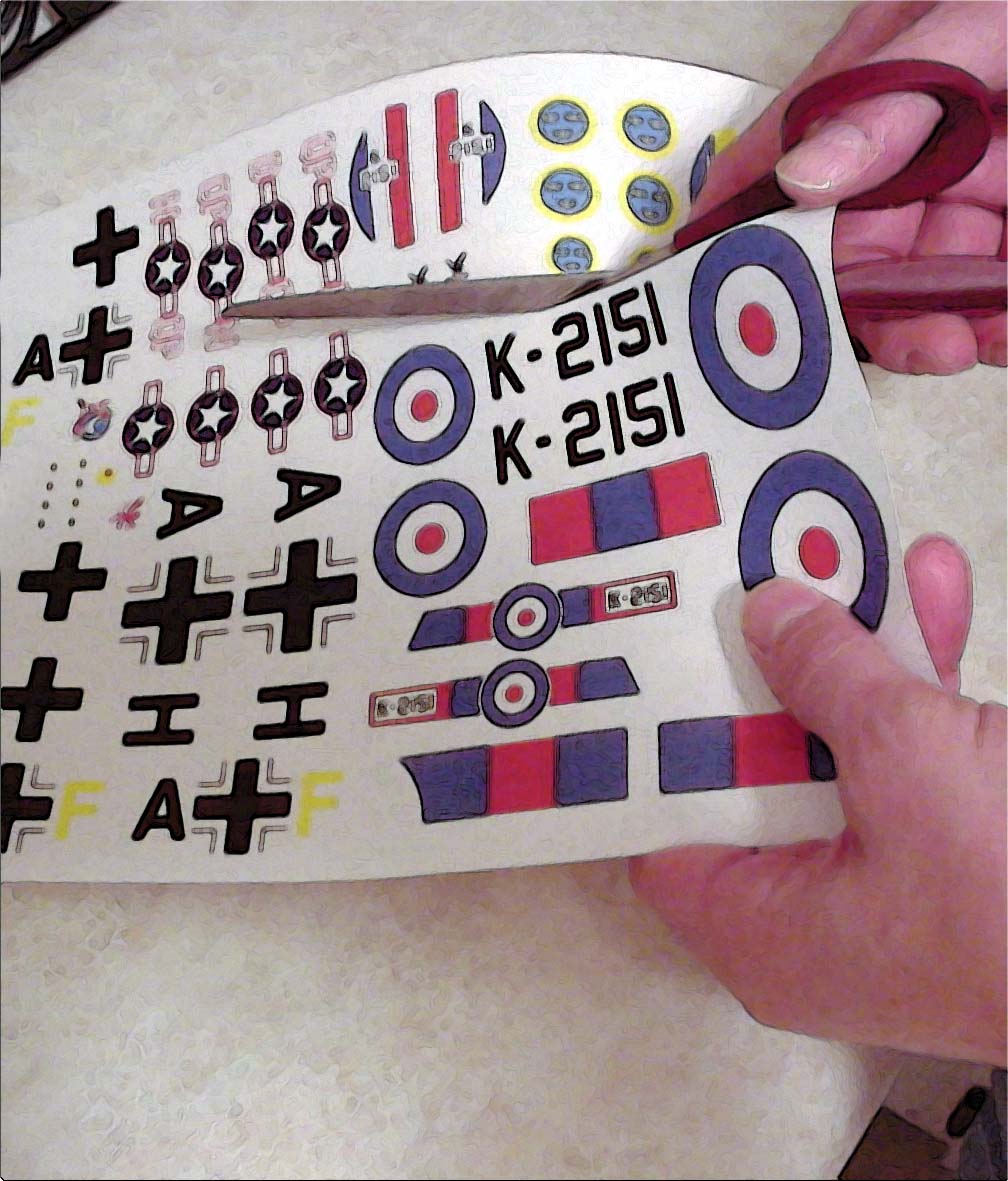
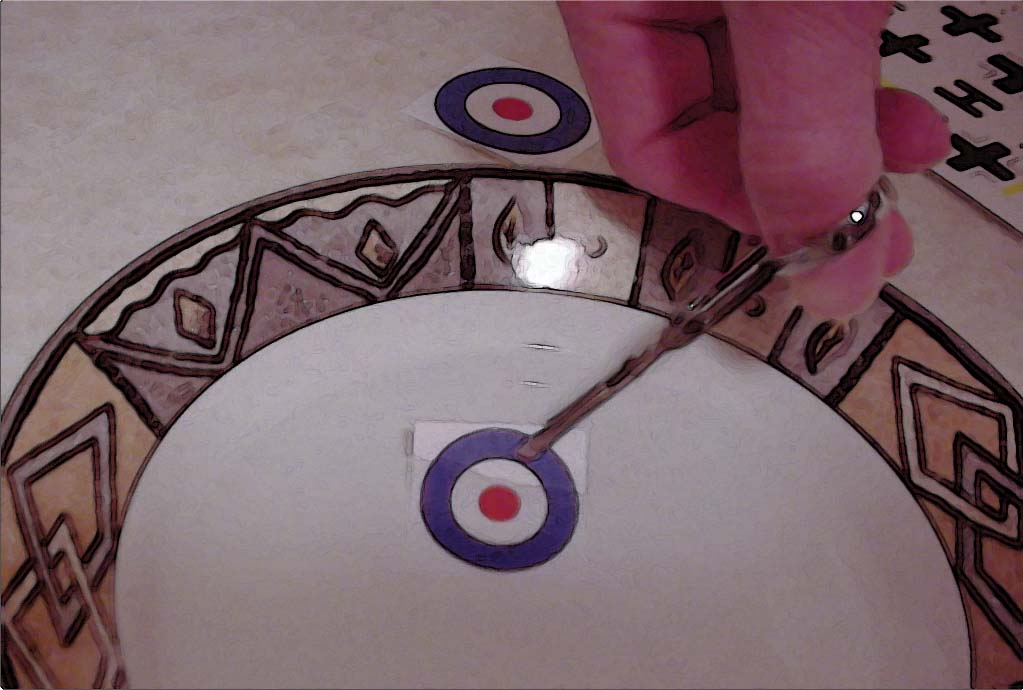
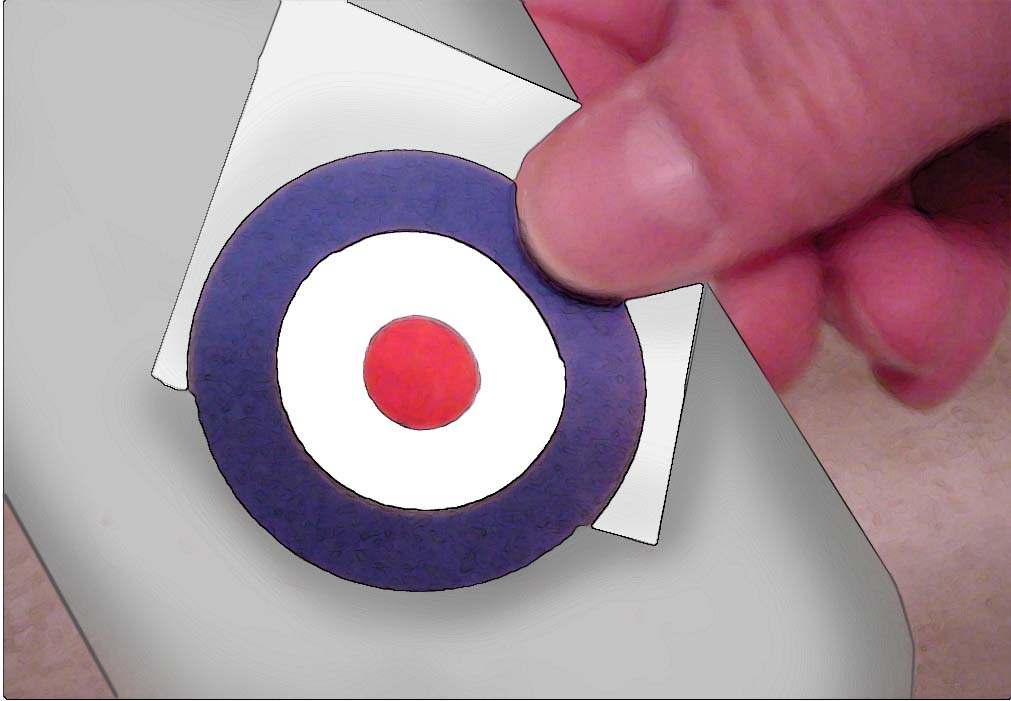
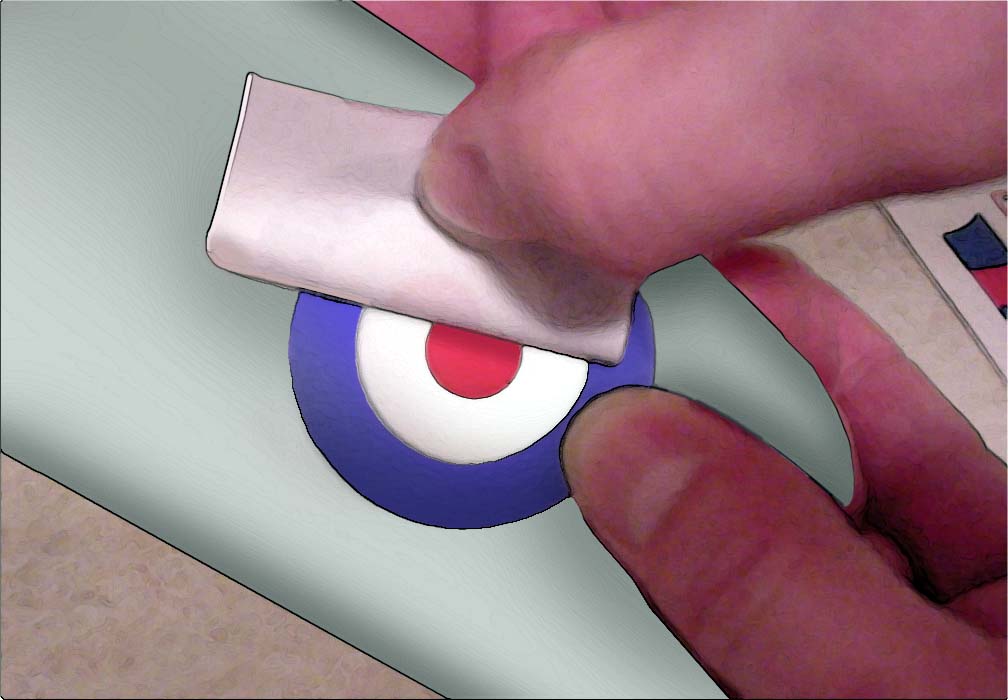
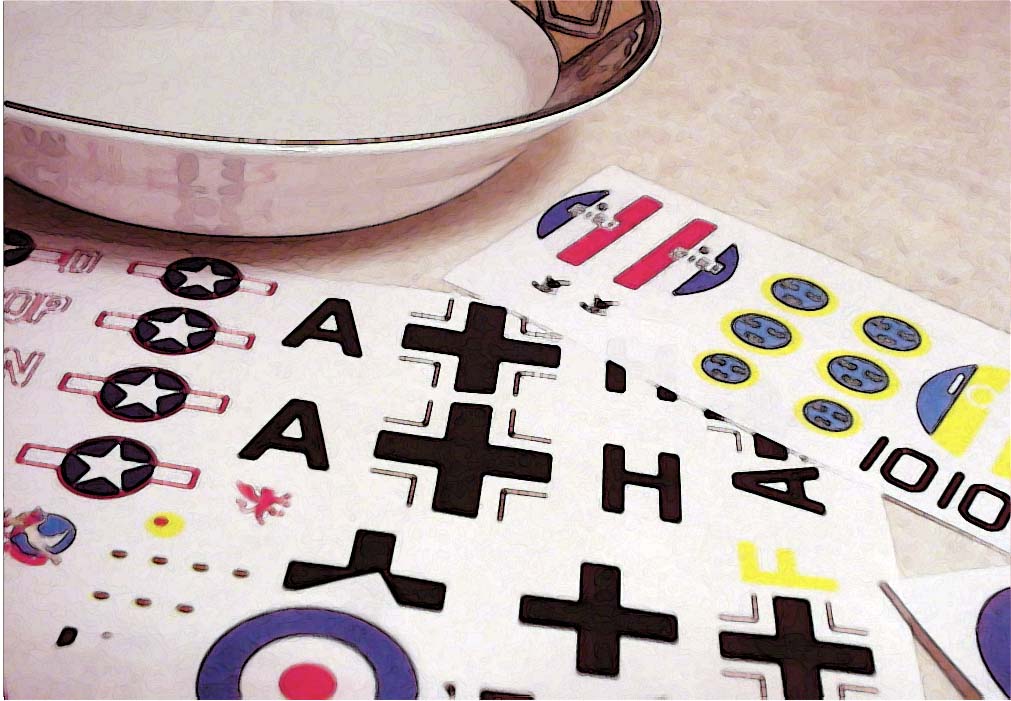
Carefully cut out the decal from the sheet and dip the decal in a cup of luke warm water for 60 seconds, placing the decal between your fingers, "feel" if the decal slides from the paper, if it does then you are ready to slide the decal off the backing paper into position on the object. Gently blot excess water with a rag or old t-shirt. To help the decal conform to the surface of your model try Microscale Micro Sol or Microscale Micro Set. Both these products are specially formulated to aid in the application of your decal.
Copyright © bare-metal.com, Bare-Metal ® Foil, Inc.. All rights reserved.